DIY Wedding Photo Backdrop
How to Build a Beautiful Backdrop for Wedding Photos
Designing a backdrop for your wedding photos can add the perfect personal touch to your photos. A fabric backdrop is a simple way to create a setting where your guests to take memorable photos, and can work perfectly if you place your photo sharing QR Code near by for guests to use. In this article we'll cover what we used to construct the photo backdrop for our own wedding, as well as some other considerations that you may find helpful.
1. Photo Backdrop Sizing
A good photo backdrop should be large enough to accommodates both solo and group shots. In most cases a backdrop about 7-8 feet tall and 6-8 feet wide works well for capturing photos, although don't forget to consider the available space in the location where the backdrop is eventually going to be set up.
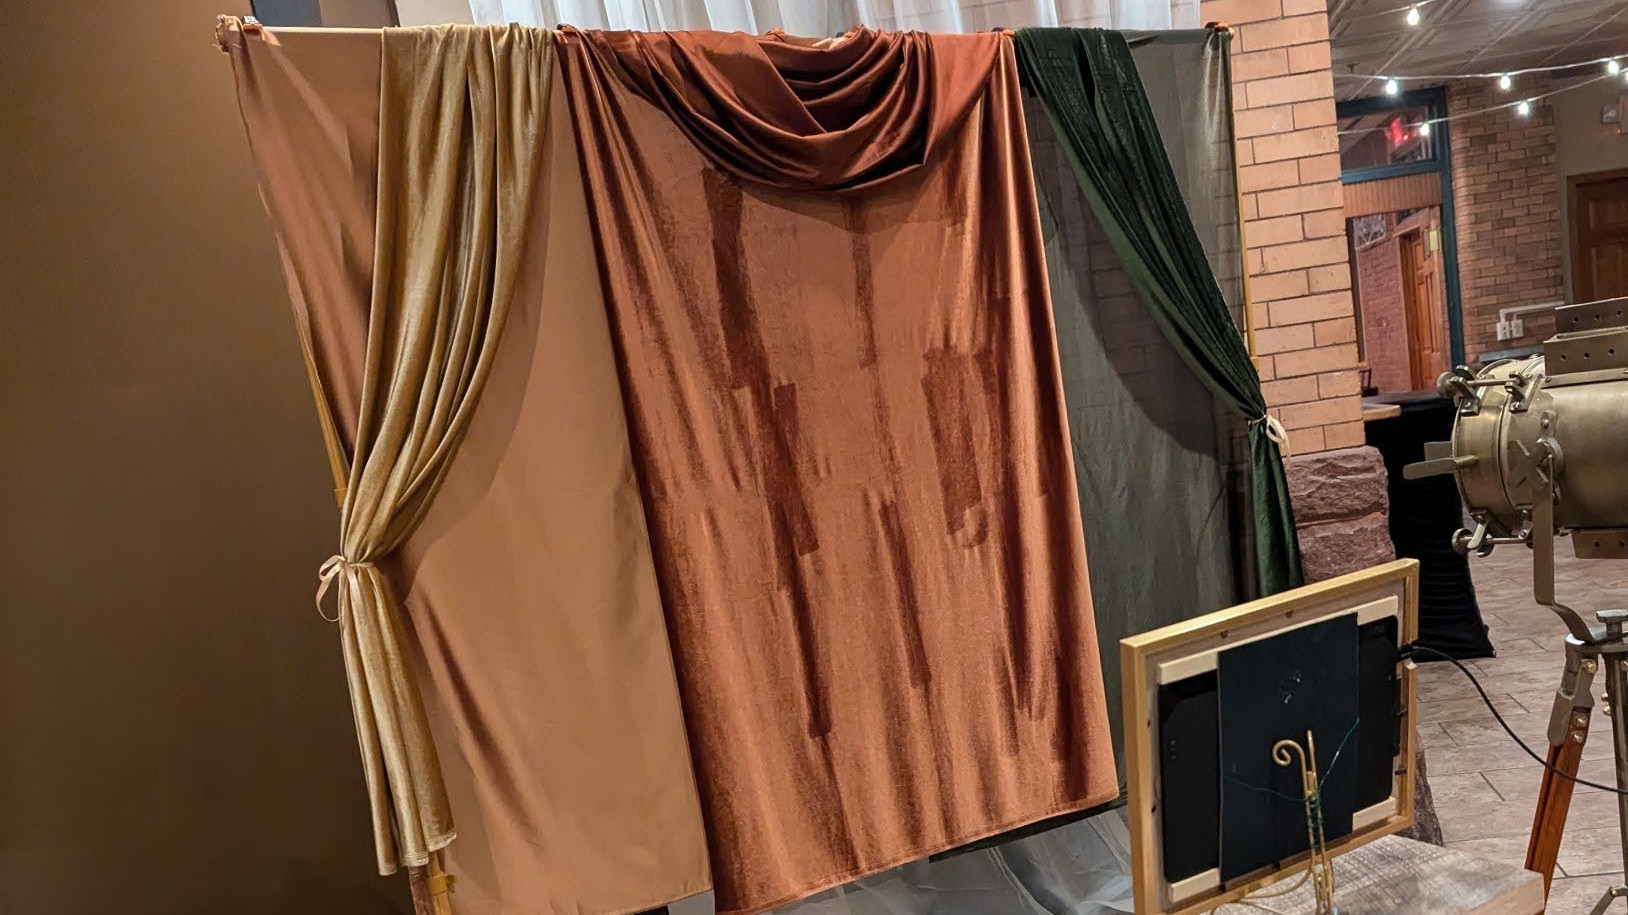
2. Fabric Types and Color Schemes
Your fabric selection can elevate the look and feel of your backdrop. For example:
- Chiffon can help create a light, romantic vibe.
- Velvet creates an air of luxury and elegance.
- Cotton makes for a clean, classic appearance.
Additionally, textures can add to the presentation. Mixing fabrics can add depth, while layering sheer fabrics creates a dream-like, ethereal look that photographs beautifully.
When it comes to coordinating colors, tones that complement your wedding theme are obviously best. Adjusting the colors in a neutral direction such an ivory, blush, or champagne create a sense of timelessness for your backdrop. Alternatively, metallic accents can be used to add a modern touch. Depending on the color palette of your wedding, the fabrics you choose should be shades that are cohesive with your overall decor.
3. Framing and Assembly
We've seen a few examples of DIY frames that use PVC pipes and connectors, and although these can be easy to build we opted for a pre-built metal frame that we found on Amazon (link). This was a great kit, and included sandbags that can be used to weigh the frame down to avoid tipping.
This kit also included a number of c-clamps which came in handy for securing some of the longer hanging sections of fabric. Picking up an extra pack of c-clamps, as well as some safety pins, and string or ribbon for securing sections of fabric are useful to have on hand.
One thing to keep in mind is your event space. Frames like these wont be ideal for some outdoor venues. However if you have trees or garden arches available you could easily rely on them to tie your fabric off to. A curtain rod could also be an easy way to create a flush top if that is an effect you're looking for.
4. Choosing the Ideal Location
Location is key for your backdrop. You'll want to make sure you choose with ample lighting, easy accessibility, and plenty of room for group shots. Soft natural lighting is ideal if available, or warm incandescent colored lighting if indoors. If you do need additional lights, be sure to check that your venue space has electrical outlets available and close enough to your backdrop that you can set up additional lights if needed.
6. Additional Considerations
A clean and simple photo backdrop is beautiful, but you may also consider additional decorations to add to the ambiance and effect you're going for. A few examples might include:
- Draping string lights or LED "fairy lights" across the fabric to add a magical glow.
- Including greenery or floral garlands around the edges of the backdrop.
- Fabric banners with names or describing the occasion, so that photos taken can highlight what is being celebrated.
Once everything is assembled, don't forget to take a few test photos and adjust lighting, seams, and stability as needed. With any luck, you'll have a beautiful and one of a kind backdrop that adds to the ambiance and fun of your celebration.